
So since the culprit of my baby's sickness was fungus. I searched for ways to prevent it. All of the searches lead me to Drybox. But it is so expensive! Around 4k-6k. For just a hobbyist like me, it is too much. So I decided that I'll just make my homemade version of it. Thank you Google for the DIY Drybox making instructions.
You want that also? You will need:
1. Airtight Container - Mine is Lock&Lock. You can buy other cheaper options, but I prefer L&L for its quality. I chose the one with holder so I can carry it around.

2. Anti-slip Mat - This is to prevent the contents of you box from slipping. I bought mine at the japanese store in Edsa Shang Mall.

3. Hygrometer - For measuring the humidity inside the box. I found this thermometer and hygrometer in one. Humidity should be between 45-55. But first I need to learn how to calibrate it.

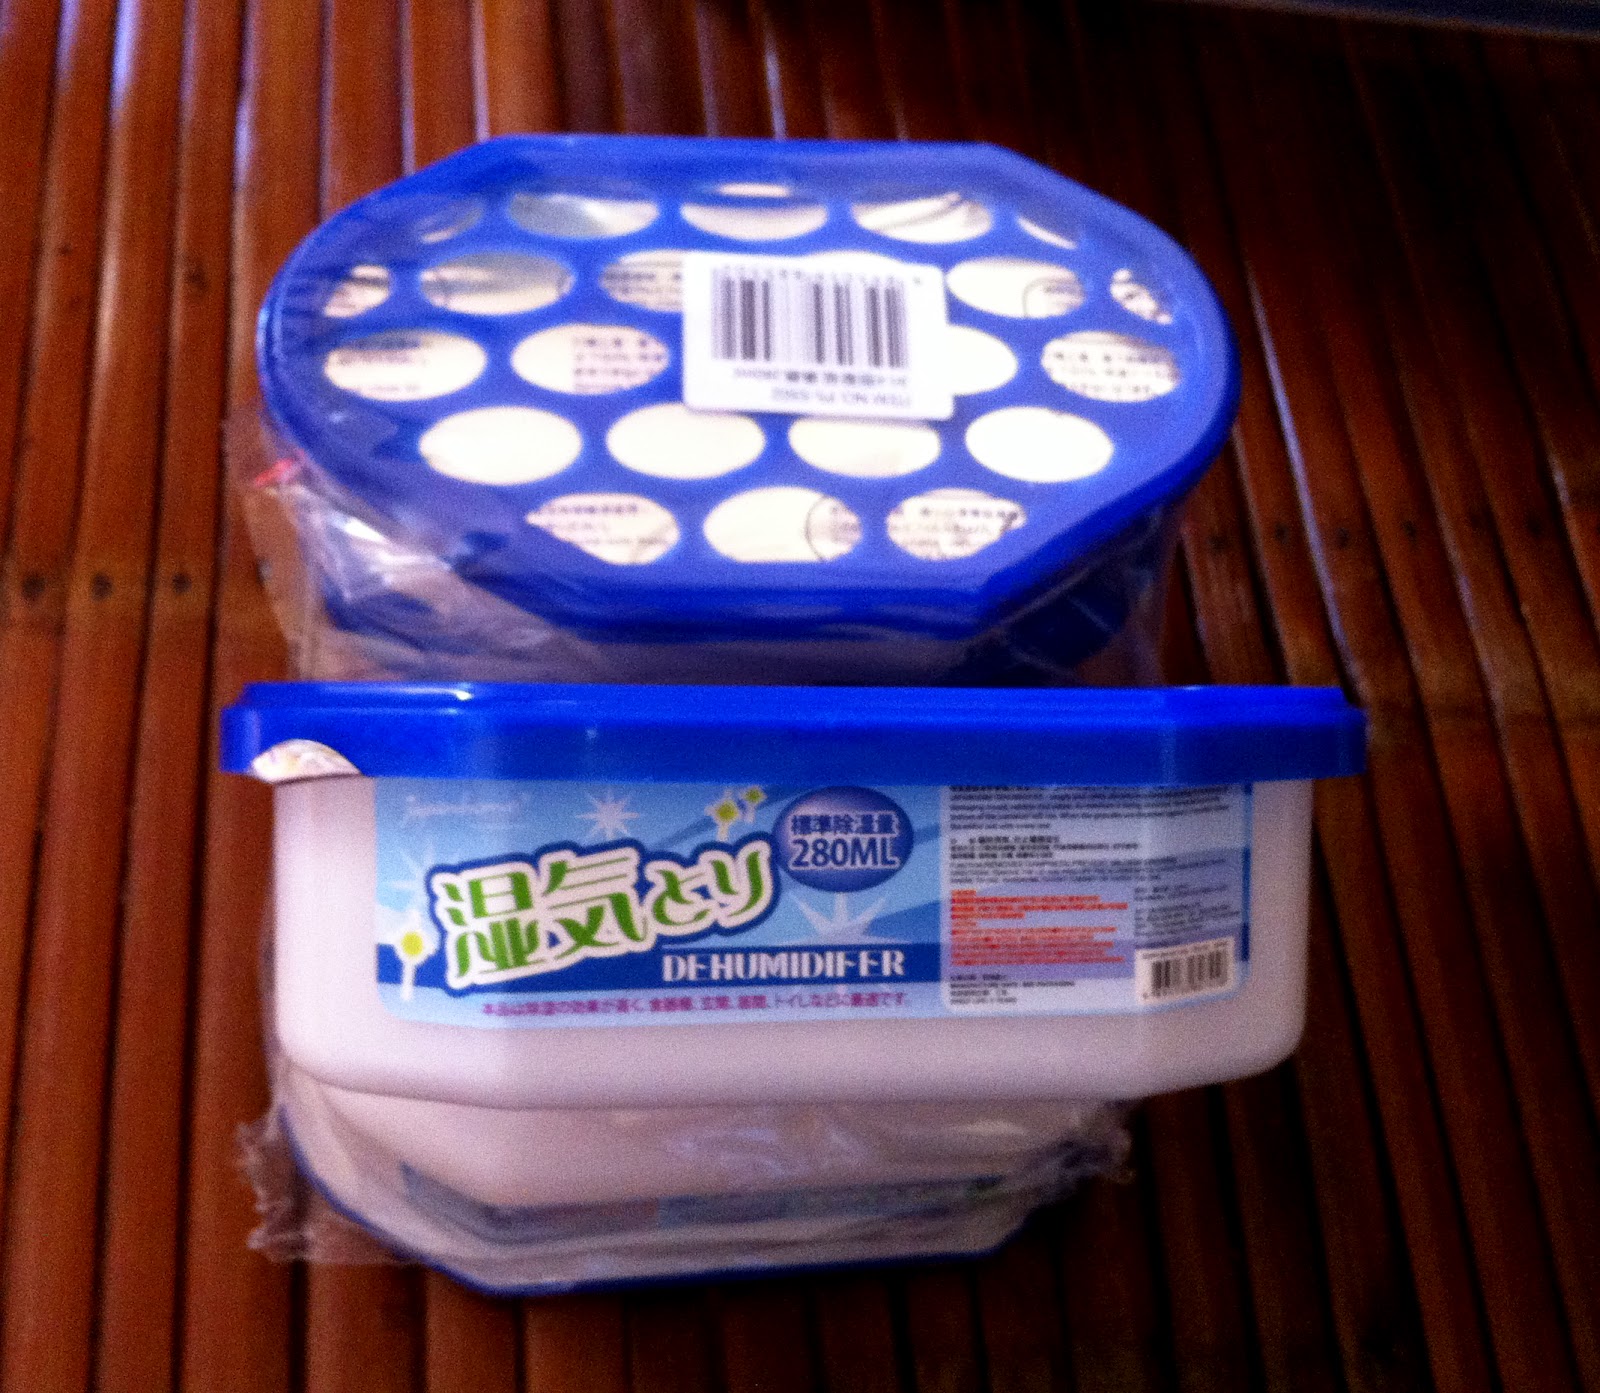
4. Dehumidier and Dessicants - This is to keep away all the moisture. I bought this whole packet of dehumidifier at the same jap store.

This is what it looked like after I placed all the items above.

It is now ready for my baby! :)

No comments:
Post a Comment